Guides
Grok Image Editing: How to Edit Images with Grok
How to edit images with Grok Imagine 2.0: magic wand, segmentation, background removal, multi-reference edits, smart resize, free limits, and Dream Pixel Forge.
Grok image editing works by describing the change rather than selecting it: upload a photo, say what should be different, and the model returns a new image with everything else left alone. As of August 7, 2026 that is no longer the whole story. xAI shipped Imagine Image 2.0 as the new Quality Mode on grok.com/imagine and in the Grok iOS and Android apps, and it makes editing a first-class capability instead of a side effect of generation: a magic wand you point at a region, segmentation for precise selections, one-click background removal, edits driven by up to five reference images, and a smart resize that refills the frame at a new ratio.
This guide covers what each of those tools does, where to find them, what access costs, and the places the model still falls down, with our own before-and-after tests on every claim worth checking. Grok Imagine 2.0, editing included, is now live in Dream Pixel Forge.
What Imagine Image 2.0 changed
Before today, editing on Grok was a prompt: you attached a source image, wrote an instruction in plain language, and hoped the model changed only what you asked about. That works, and it is still the fastest way to make a broad change. What it never gave you was a way to say here, at a specific spot in the frame. Image 2.0 adds that, plus four other things that used to be someone else's job.
| Tool | What it does | Reach for it when |
|---|---|---|
| Magic wand | Edits the region you point at and leaves the rest untouched | One thing in the frame is wrong and the rest is already approved |
| Segmentation | Selects precise areas to change | The edit has a boundary a sentence cannot describe |
| Background removal | Exports any subject with a transparent background | You need a cutout to composite, not a new scene |
| Multi-reference editing | Takes up to five input images in a single generation | A subject, a product, and a style each live in a different file |
| Smart resize | Picks a ratio and fills the new frame | One approved image has to run in nine placements |
Two of those are worth calling out because they remove real work rather than saving clicks. Multi-reference editing kills manual compositing for the common case: instead of cutting out a product, pasting it into a new scene, and fixing the light, you hand the model both images and describe the result. And xAI says the model now preserves what you put in across generations and edits, which is the difference between an editor and a slot machine. The old failure mode of image editing was asking for one change and getting a subtly different face, a shifted logo, and a new pair of shoes.
That claim is testable, so we tested it. Every example below was generated with Imagine Image 2.0 in Quality Mode on August 11, 2026, from a source image the model had never seen. The first one is the whole pitch in a single instruction.
xAI also claims the model plans typography and layout before it renders, keeping small text sharp, and reports that Image 2.0 sits second in the world on the Arena Image Edit leaderboard, behind OpenAI's gpt-image-2. Second is a genuine jump for a model family whose standard tier was previously a bad choice for anything with words in it, and it is still second. Our full breakdown of the launch is in Grok Imagine Image 2.0.
How to get Grok to edit any image?
Open Grok Imagine, upload a source image, and describe the change in plain language. The editor lives in three places, and as of today they are not equivalent.
- grok.com/imagine. The full Image 2.0 editing suite in Quality Mode, including the magic wand, segmentation, and the templates below. This is the reference implementation.
- The Grok iOS and Android apps. Image 2.0 is generally available here too, so the phone is a real editing surface rather than a viewer.
- Dream Pixel Forge. Grok Imagine 2.0 is live now, editing included: upload a source image, describe the change, and add up to three references in a single call.
How to edit an image in Grok, step by step
- Open Imagine and upload the source image. Editing starts from a file you supply, not from a previous generation, so a phone photo or a client asset works the same as a Grok output.
- Decide whether the change has a location. If it does, point the magic wand at it or draw the selection with segmentation. If it does not ("make this look like an overcast morning"), skip straight to the prompt.
- Describe only the change. This is the single biggest lever. Re-describing the whole scene invites the model to rebuild it. "Change the mug to matte black" beats a paragraph that restates the table, the light, and the coffee.
- Add references if the edit needs material from elsewhere. Up to five images. Give each one job: this face, this product, this style. Five sources doing five jobs works; five sources arguing about the same job produces an average.
- Resize last. Approve the content first, then smart resize into the ratios you need. Resizing before the content is final means redoing it.
The habits that made Grok generation work still apply to editing: short instructions, one change at a time, and no negative phrasing. Those are covered in depth in our Grok Imagine prompts guide.
One change at a time is the habit that used to cost you the image. Three sequential edits was where older models drifted: each pass re-rendered the face a little, and by the third the person was someone else. We ran that test on Image 2.0, feeding each output back in as the next input.
This is the single biggest practical change. When identity survives a chain, editing becomes iterative: you can approve a direction, then keep refining it. When identity does not survive, every edit is a coin flip and the only safe workflow is getting it right in one pass.
Multi-reference editing, and what it does not preserve
Multi-reference is the feature with the most commercial weight, because it replaces manual compositing. We gave the model two inputs — the café portrait and a separate studio shot of a product — and asked it to put the product in her hands.
Read that result the way a client would. The model is genuinely good at the hard part, which is putting a subject and an object in the same light, and it is unreliable at the part that is legally and commercially non-negotiable: reproducing a real label exactly. Treat multi-reference output as a layout that gets you the pose, the lighting, and the composition, then composite the actual packaging over it. Anything with a logo, a trademark, or a regulated claim on it needs the real asset dropped in afterward.
Grok Imagine templates for common edits
Image 2.0 ships with 15 templates, and most of them are editing jobs rather than generation jobs. They are worth knowing because they are faster than writing the instruction yourself, and because they tell you what xAI expects people to use this model for: commerce, brand assets, and social output.
- Photo-first edits: Photo Edit, BG Removal & Change, Reimagine, Photo Collage, Professional Headshot.
- Commerce: Product Color Change, E-Commerce Photos, UGC Photos, Editorial Product Poster, Merch Maker.
- Design assets: Icon Maker, Emoji Creator, Mascot Maker, Character Sprite, Props & UI Kit.
Product Color Change is the clearest example of why the magic wand matters. Recoloring one SKU used to mean a full regeneration and a new argument about whether the shadows still matched. Pointing at the object and naming a color is a different operation.
Smart resize and the nine aspect ratios
Smart resize takes one approved image and refills the frame at a different shape rather than cropping it. The supported ratios are 1:2, 9:16, 2:3, 3:4, 1:1, 4:3, 3:2, 16:9, and 2:1, which covers every placement a normal campaign needs: story, feed, thumbnail, banner, and wide hero from a single master.
The honest caveat is that refilling a frame is generation, not cropping. The new edges are invented. For a product shot with a plain backdrop that is invisible; for a busy scene where the subject sits close to the border, check what arrived in the extended area before you ship it.
Editing with Grok in Dream Pixel Forge
Grok Imagine 2.0 editing is live in Dream Pixel Forge now. Upload a source image, describe the change, and add up to three references in one call. References do not need pre-cropping on this model: it reframes a mismatched source rather than stretching it, which is the failure mode covered further down.
If background removal is the whole job, the method comparison in how to remove a background from an image is worth ten minutes first. Your phone and your operating system both do this free, and for a clean subject they are good enough. Pay only when the edge quality visibly fails on your image.
Is Grok free for image editing?
Yes, within limits, and the limits have moved around enough this year that most answers you will find are stale. As of today, xAI's pricing page lists a Free plan at $0 per month with image generation (Imagine) included "within generous limits"; video generation is the capability reserved for SuperGrok Lite and up. xAI does not publish the daily caps as numbers, and the plan table does not say whether Quality Mode, which is now Image 2.0, falls inside the free allowance, so what the free plan buys you on the new model is whatever the app offers when you press generate.
The history matters because it is what the stale answers describe. xAI limited image creation and editing to paid subscribers in January 2026 after non-consensual deepfakes generated with the tool drew regulatory action, and for a stretch of early 2026 free accounts hit a paywall on generate. The current pricing page has image generation back on the Free plan; the paid tiers buy higher rate limits and video. For developers the API is metered instead, and edits are charged for both the input image and the generated output. If you want to test AI editing on your own file with a published price per operation, the widget below runs a real background removal on trial credits with no account.
Try it now
Free to try, no account needed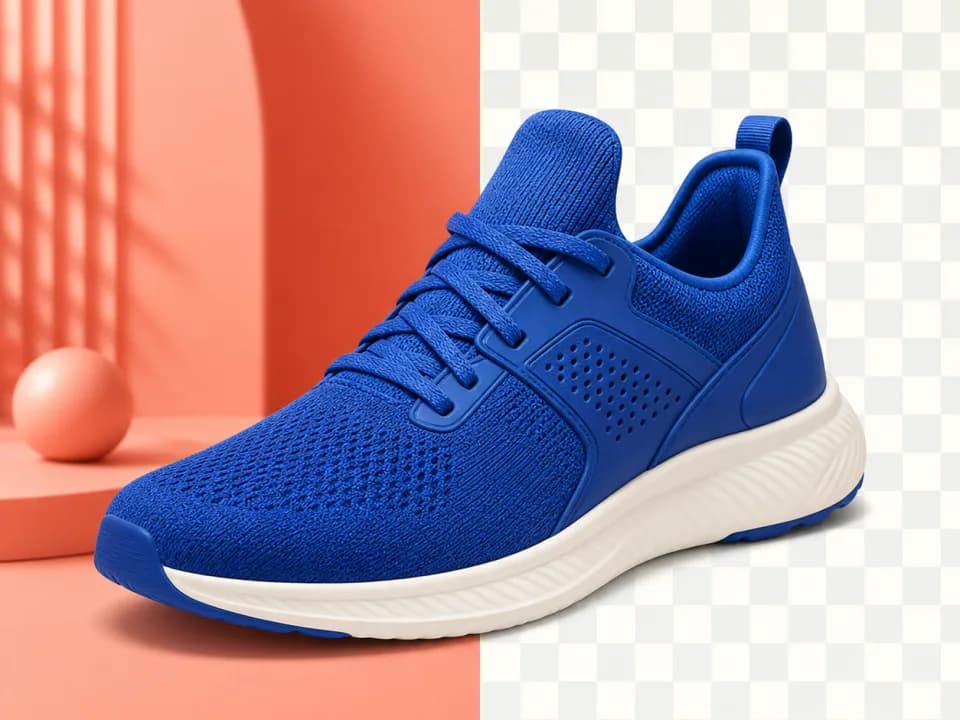 Example output
Choose an image to replace this example, then select your settings.
Did Grok remove NSFW image editing?
Partly, and the specific restriction matters more than the headline. On January 15, 2026, X blocked Grok from editing images of real people into revealing clothing, applying the change to every user including paid subscribers. The move followed government bans and regulator pressure in several countries over sexualized images of real women and children, and xAI said it would additionally geoblock content that breaks local law.
So the accurate summary is that Grok did not remove editing, and did not become a fully filtered model either. It removed the category that was producing non-consensual imagery of real people. xAI's developer documentation also states that generated media is subject to content policy review, and a refusal on a given request is final for that call. Paying, or using the API instead of the app, does not create an exception.
Where Grok editing still loses
Four things to plan around, from most to least likely to cost you a generation:
- Spatial instructions. Give the model three positional constraints in one sentence and it satisfies roughly one. Point at the region instead, which is exactly the problem the magic wand exists to solve.
- Product and label fidelity. The multi-reference result above is the example. Composition and lighting transfer well; the exact artwork on a package does not. Drop the real asset in afterward.
- Hands and anatomy. Still a regeneration problem, not a prompt problem. Do not write "correct hands" into an edit instruction.
- Text. Image 2.0 targets typography directly and the Arena result suggests it landed, but proofread every character before shipping. Our own product shot rendered a four-line label cleanly on the first pass and then lost three of those lines the moment that can was carried into an edit.
Reference aspect ratios: fixed on Quality, not on Standard
The long-standing complaint about Grok references is that the model fills the output canvas with your source instead of letterboxing it, so a 3:2 reference in a 9:16 render arrives pre-squashed. That is still true, but it is now a statement about which model you are on rather than about Grok. We sent the identical source and the identical 9:16 request to both tiers.
The practical rule: on Image 2.0 you can hand the model a reference at whatever shape you have it. On the standard model, match the reference shape to the output before uploading, or use a tool that does it for you. If you have read older advice telling you to always pre-crop your references for Grok, that advice was correct when it was written and is now half right.
The short version
Grok image editing became a real editor on August 7, 2026. Point at what is wrong, describe the change, add references when the model needs more context, and resize the finished image for each placement. Grok Imagine 2.0 is live in Dream Pixel Forge now.