Guides
How to Upscale an Image Without Losing Quality
Learn why normal resizing blurs and how AI upscaling reconstructs detail for sharper 2x and 4x enlargements used in photos, print, and e-commerce.
To upscale an image without losing quality, use an AI upscaler that reconstructs detail as it enlarges, rather than a standard resize that just stretches the pixels you already have. Traditional resizing guesses new pixels by averaging neighbors, which is why enlargements come out soft and blurry. AI upscaling generates plausible new detail based on what it has learned about textures, edges, and objects, so a 2x or 4x enlargement can look as sharp as the original.
This guide explains why ordinary resizing blurs, how AI reconstruction actually works, when each approach is the right call, and the practical workflows people upscale for most: old photos, print prep, e-commerce zoom, and AI-generated images that came out below the resolution you need. It also covers the honest limits, because no upscaler recovers information that was never captured.
Why enlarging an image normally makes it blurry
A standard resize blurs because it cannot create information, only spread it out. A digital image is a fixed grid of pixels. When you enlarge a 1000x1000 image to 4000x4000, you need 16 times as many pixels, and the software has to fill in the 15 new pixels around every original one.
Classic resizing does this with interpolation: mathematical averaging of nearby pixel values.
- Nearest neighbor copies the closest original pixel. It preserves hard edges but produces visible blocks, the classic "pixelated" look.
- Bilinear interpolation averages the four nearest pixels. Smoother, but edges go soft.
- Bicubic interpolation (the default in Photoshop and most editors) samples 16 surrounding pixels with a weighted curve. It is the best of the classic methods and still produces the same fundamental result: a bigger image with no new detail, where every edge is a smoothed average of the old ones.
That softness is not a bug in your editor. Interpolation is doing exactly what it is designed to do. The blur is the mathematically honest answer to "what goes between these pixels," because averaging is the only tool it has. If you have ever exported a logo at 4x and wondered why it looks like it is behind frosted glass, this is why.
How AI upscaling reconstructs detail instead of stretching it
AI upscaling produces sharp enlargements because it adds new, plausible detail instead of averaging existing pixels. The models behind it are trained on enormous sets of paired images: a high-resolution original and a downscaled copy. Over millions of examples, the model learns what fine detail looks like when it is shrunk, and how to reverse that process.
When you feed it a small image, the model recognizes patterns it has seen before. It knows what brick texture, fabric weave, blades of grass, skin, and typography look like at high resolution, so it reconstructs those textures at the new size rather than smearing the old pixels across more area. An interpolated enlargement of a wool sweater gives you a soft beige blur. An AI enlargement gives you visible knit texture.
The key word is plausible. The model is making an informed reconstruction, not retrieving lost data. For textures, edges, and natural detail, the reconstruction is usually indistinguishable from a genuinely higher-resolution photo. For a few specific cases covered below, it can guess wrong.
Is it possible to enlarge an image without losing quality?
Yes, within practical limits. AI upscaling at 2x or 4x routinely produces enlargements that look as sharp as the source, which is what "without losing quality" means for real work: the result holds up at its new size instead of looking soft.
Two honest caveats:
- Perceptual, not literal. The new pixels are reconstructed, not recovered. For prints, listings, thumbnails, and web use, that distinction does not matter. For forensic or scientific work where every pixel must be measured data, it does.
- Source quality sets the ceiling. A clean, well-lit source upscales beautifully. An image that is tiny, heavily compressed, and out of focus gives the model very little to work with, and results will improve the image without fully rescuing it.
A useful rule: AI upscaling makes a good small image into a good large image. It does not make a bad image good.
How do I upscale an image to a higher resolution?
Upload your image to an AI upscaler, choose a scale factor, and download the enlarged result. The whole process takes under a minute. Here is the workflow that gets the best output:
- Start from your best copy. Use the original export, not a screenshot of it or a version that has been through three rounds of messaging-app compression. Every lossy save before upscaling is quality the model has to work around.
- Upload it to the AI image upscaler. You can try it with free trial credits, no account required.
- Pick a scale factor. Most upscalers offer 2x and 4x. Choose 2x for a moderate boost, like making a web image print-ready at a small size. Choose 4x when the source is genuinely small or the target is large: posters, big prints, or aggressive crops. The aspect ratio stays the same; both dimensions scale by the same factor.
- Check the result at 100% zoom. Fit-to-screen hides both flaws and improvements. Inspect edges, faces, and any text at full size before you commit it to print or a listing.
- Do any editing before you compress. Upscale, make your edits, then export to your delivery format last, so you are not baking JPEG artifacts into the file the model has to enlarge.
Details on plans and credits are on the pricing page.
Try it now
Free to try, no account needed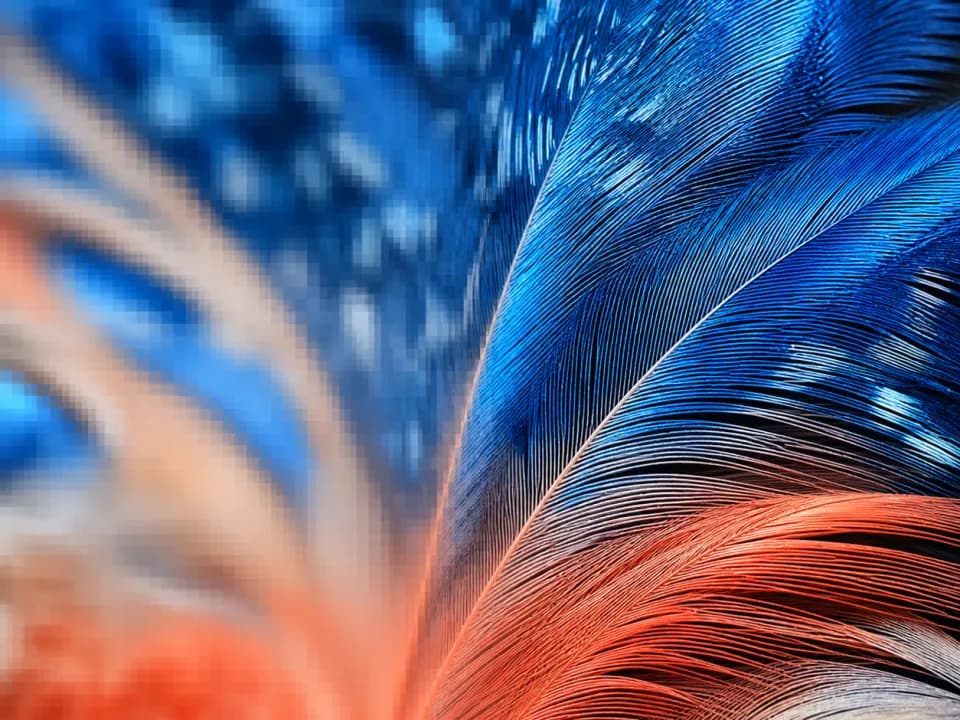 Example output
Choose an image to replace this example, then select your settings.
When plain resizing is actually fine
Skip AI upscaling when you are shrinking an image, when the enlargement is trivial, or when the graphic should be vector in the first place.
- Downscaling. Making images smaller discards pixels rather than inventing them, and bicubic interpolation handles it cleanly. No AI needed.
- Small enlargements. Going from 1900px to 2000px is a 5% stretch that interpolation handles without visible softness.
- Logos and icons you own. If you have the SVG or the original design file, export at the size you need. Vector formats scale infinitely, and no raster upscaler beats that. AI upscaling a logo is the right move only when the vector original is lost, which happens more often than anyone admits.
- Pixel art. Nearest-neighbor scaling at integer multiples preserves the deliberate blockiness. AI reconstruction will try to smooth what is supposed to be crunchy.
The honest limits: faces, text, and heavy blur
AI upscalers have three known weak spots, and pretending otherwise is how people end up disappointed.
Heavily blurred faces. Mild softness on a face upscales well. But when a face is small and badly out of focus, the model must invent facial features, and an invented face can drift away from the actual person. For anything where identity matters, treat a reconstructed face as an approximation and check it against a reference.
Small text. Legible text upscales fine. Text that is already breaking apart at the source resolution may come back as convincing-looking shapes that are not quite the right letters. If exact wording matters, on packaging, signage, or documents, verify every character after upscaling, or re-set the text in your design tool instead.
Extreme compression and noise. A model can confuse dense JPEG artifacts or sensor noise with texture and sharpen the garbage along with the signal. Modern upscalers handle moderate compression well, but a 40KB meme that has been reposted for a decade has limits no tool escapes.
None of these are reasons to avoid AI upscaling. They are reasons to inspect the output in exactly these three areas before shipping it.
Four workflows where upscaling earns its keep
Old and scanned photos. Family photos scanned years ago at low resolution, or early-2000s digital camera shots, are the classic case. A 4x upscale turns a 640x480 snapshot into something you can print at 5x7 without visible softness. Scan at your scanner's highest optical resolution first, then upscale the digital file.
Print prep. Print demands roughly 300 DPI, so an 8x10 inch print needs about 2400x3000 pixels. Most web images fall far short. Work backward from the print size: multiply inches by 300 to get your pixel target, then upscale until the source meets it. This is the difference between a crisp print and one that looks fine on screen and disappointing on paper.
E-commerce zoom. Marketplaces reward large product images because shoppers zoom before they buy, and a soft zoom reads as a low-quality product. Upscaling brings older product shots and supplier-provided images up to the recommended dimensions without a reshoot.
AI-generated images. Most generation models output at moderate resolutions, often around one to two thousand pixels per side. That is fine for social posts and too small for a poster, a book cover, or a detailed crop. Upscaling is the standard second step: generate until the composition is right, then enlarge the winner to delivery resolution. Since the source is clean and artifact-free, generated images are among the best-case inputs an upscaler ever sees.
The bottom line
Interpolation stretches pixels; AI reconstruction adds them. Use plain resizing to shrink images or nudge them slightly larger, and use AI upscaling any time you need a genuinely bigger file that still looks sharp: 2x for modest boosts, 4x for prints and heavy crops. Start from your cleanest source, inspect faces and text at 100%, and upscale before your final compression step. Follow that and "without losing quality" stops being a marketing phrase and becomes the normal result.