Guides
Social Media Graphics: A Repeatable Workflow for Businesses
Build recurring social media graphics from approved brand facts and references. Plan a coordinated image set, adapt formats, and make revisions easier to approve.
For recurring social media graphics, build a small visual system before making individual posts. Keep your brand facts, approved references, and layout rules together; produce a reviewable set of still images; then add exact copy and adapt the accepted designs for each placement. That gives a business or agency something it can repeat next week without starting the creative discussion again.
The useful deliverable is a set of approved, correctly labeled assets with captions and a clear next step. A folder of attractive images still needs work if nobody knows which offer is current, where each file belongs, or what the client approved.
Decide what each graphic has to do
Social media graphics can announce an offer, explain a service, show a product, or communicate a point of view. Give each post one main job. Repeating a visual identity is helpful; repeating the same message and composition in every slot leaves little reason for the set to exist.
For a hypothetical independent clothing shop, a weekly set could look like this. These are planning examples, not a recommended posting frequency or a customer campaign.
| Post job | Asset needed | Approval question |
|---|---|---|
| Introduce a collection | One strong outfit image with room for a short title | Are the garments and available colors accurate? |
| Explain a detail | A real photograph of the fabric or construction | Does this show the actual item rather than an invented feature? |
| Share styling inspiration | A coordinated editorial image | Is the image clearly inspiration if it does not show sellable stock? |
| Announce an event | A simple graphic with editable date and location | Do the details match the booking page? |
Keep organic social production separate from paid-ad testing. An ad set may need controlled variations of a hook or offer. This workflow is about keeping a business's recurring feed useful and recognizable. If you are buying paid placements, use the Facebook ad creative workflow for that brief.
Collect brand facts before visual references
A mood board can tell a designer how a brand should feel. It cannot tell them whether a product is in stock or whether a price is approved. Keep those facts in a short source document with an owner and a date.
- Business facts: what you sell, who the post is for, the current offer, and its destination.
- Approved words: names, prices, dates, claims, and any required qualifications.
- Visual references: the real logo, product photographs, palette, and examples you want to continue.
- Boundaries: details that must not change, subjects you cannot depict, and assets you do not have permission to reuse.
- Delivery: post count, required formats, final approver, and publishing deadline.
For an agency, use a separate reference set for each client. A shared style folder becomes a liability when another client's palette, product, or offer slips into the work. The brief should name the client and campaign even when the surrounding project already seems obvious.
Dream Pixel Forge supports saved brand context, reference images, and a Studio board for creative work. Start from the AI social media post generator and bring your actual business references. Confirm the selected brand before each run; saved context helps with continuity but does not replace checking the facts.
Set a visual system with room for different posts
Choose a few stable rules: palette, lighting or illustration style, logo placement, typography, and how much room the image leaves for a headline. Then let the composition change with the message. A fabric detail needs a close view; an event announcement needs readable information; a styling image needs to show the outfit.
Approve one representative design before making the rest. Check it at the size someone will actually see on a phone. If the title is cramped or the product barely visible, solve that in the design direction rather than repeating the problem across six exports.
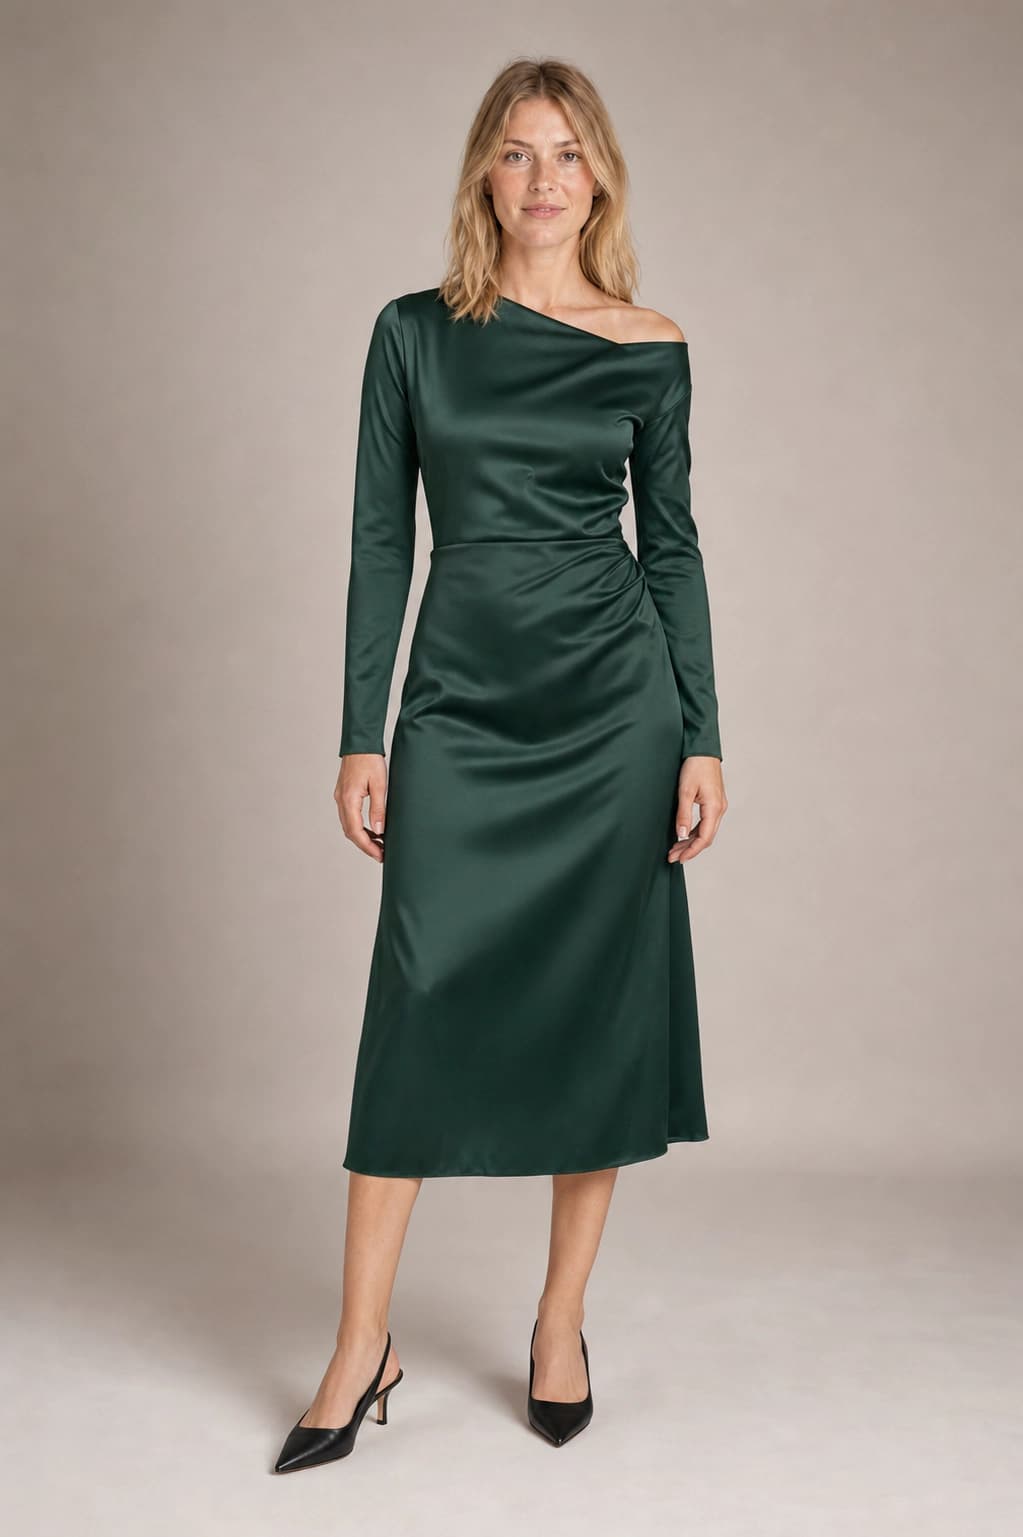
The portrait above and the rust-dress hero use related studio styling without being identical crops. That is a useful distinction for recurring work: keep the visual language, vary the picture. Neither image establishes what a real garment looks like, fits like, or costs.
Create the first image, then build the set
Choose the collection announcement as the first image. Attach its approved product photographs and visual references, request one direction, and check it against the brief. Once the composition and styling are approved, use that accepted image alongside the original references when requesting the next composition. Review each image before moving it into the delivery set.
For the hypothetical shop, the creative request could be:
Create three still-image concepts for next week's collection announcement using the attached approved garment photos and charcoal-and-rust visual references. Keep garment shapes and colors unchanged. Make a full-outfit view, a closer composition, and an event-background image with empty space for a title. Do not add prices, dates, logos, or customer quotations to the generated art. We will add approved text in the layout editor.
This states the business job without turning the marketer into a prompt engineer. Review the first concept, correct the direction, and then request the remaining compositions. If the real product cannot survive the transformation accurately, keep its photograph and use generated art only in the surrounding setting or in clearly illustrative posts.
Use seasonal promotional graphics for an announcement or quote-card artwork for a statement-led post. Do not invent testimonials to fill a quote card. A business's own editorial statement is a different source from a customer endorsement.
Keep exact copy editable
Separate the image from information that must survive revisions: offer text, event dates, prices, handles, addresses, and logos. Put those into editable layers in your layout editor. AI may render convincing text, but every character still needs checking, and a new date should not require regenerating a person or product.
Maintain one approved copy list beside the images. For each post, include its short on-image title, caption, destination, and image description. This also exposes a weak brief: if the caption has to explain three unrelated offers, the post probably needs a narrower job.
Provide the essential message in accessible text as well as the picture. The W3C's image guidance recommends text alternatives that convey the information an image represents. LinkedIn supports alternative text on feed images and article images. Write a description for the actual final asset, including important visible words where needed, rather than copying the same generic description onto every file.
Adapt formats after the concept is approved
Make a delivery matrix before exporting: destination, placement, required dimensions, file type, and any crop or interface concerns. Verify the current requirements in the destination platform. Our Instagram post size guide covers that platform's details; this production workflow is not a replacement for checking the placement.
A vertical composition and a square composition may need different image framing and headline positions. Resize the canvas, then recompose deliberately. A crop that removes the garment detail or pushes the title against an edge is a rejected adaptation even if the file has the right dimensions.
Keep a master with editable type and separate artwork. Preview exported files on a phone and in the platform's draft composer before approval. The exported image, not the design editor at full zoom, is the asset the audience will receive.
Make approval and revisions specific
Review in two passes. First check business accuracy: product, offer, spelling, dates, destination, permissions, and image descriptions. Then check design: hierarchy, crop, legibility, consistency, and distracting artifacts. A beautiful composition cannot compensate for the wrong booking date.
Collect feedback in one place with asset names. “Post 03: keep the image and palette, replace the headline with the approved event title, and move the logo away from the bottom edge” is actionable. “Make everything more premium” reopens the direction and gives nobody a clear acceptance test.
Keep approved and superseded versions separate. A simple naming pattern such as client-campaign-post03-feed-v02 is enough if the whole team uses it. Record which version was approved and who can make the final publishing decision. Keep those approval notes in the shared document, then publish the accepted files in the destination platform.
Hand off a delivery manifest
For the hypothetical clothing-shop set, keep a short manifest beside the final exports. Fill in the real copy, sources, and approval names before publishing. Each asset should point to one approved version.
| Asset name | Job | Copy and source to attach |
|---|---|---|
collection-post01-feed-v02 | Introduce the collection | Approved collection title, product-photo references, collection-page link |
collection-post02-detail-v01 | Show a garment detail | Real detail photograph, verified material description, item-page link |
collection-post03-style-v01 | Offer styling inspiration | Approved editorial caption, image description, any illustration label needed |
collection-post04-event-v02 | Announce the event | Confirmed date and location, booking-page link, approval owner |
Add the placement and export dimensions to each row, and keep superseded versions out of the publishing folder. A reviewer should be able to open the manifest and identify the right file, caption, and destination without searching a chat history.
Buy for recurring production, with a small first assignment
When comparing a designer, agency, template editor, or AI image tool, ask for the same limited assignment. Evaluate an approved set in the formats you need, including one realistic revision. Compare the time and spend needed to reach that result, rather than the price of the first image alone.
Budget for rejected concepts and revisions. Track total production spend divided by accepted assets, and separately note review time. Those numbers describe your actual workflow; a promised number of posts per month does not tell you whether the files will be publishable.
Dream Pixel Forge uses credits for generation. A paid credit pack permits commercial use for new outputs without a subscription; it does not upgrade premium image-model access or saved-brand limits. Earlier Free outputs retain their original license. Review current pricing and plan limits before choosing a pack for a single campaign or a subscription for recurring work.
Bring one real brief and approved references to the social media post generator. Approve the first direction, build the remaining still images, and finish the exact copy and formats in your layout editor. Save what worked so next week begins with a decision you have already made.